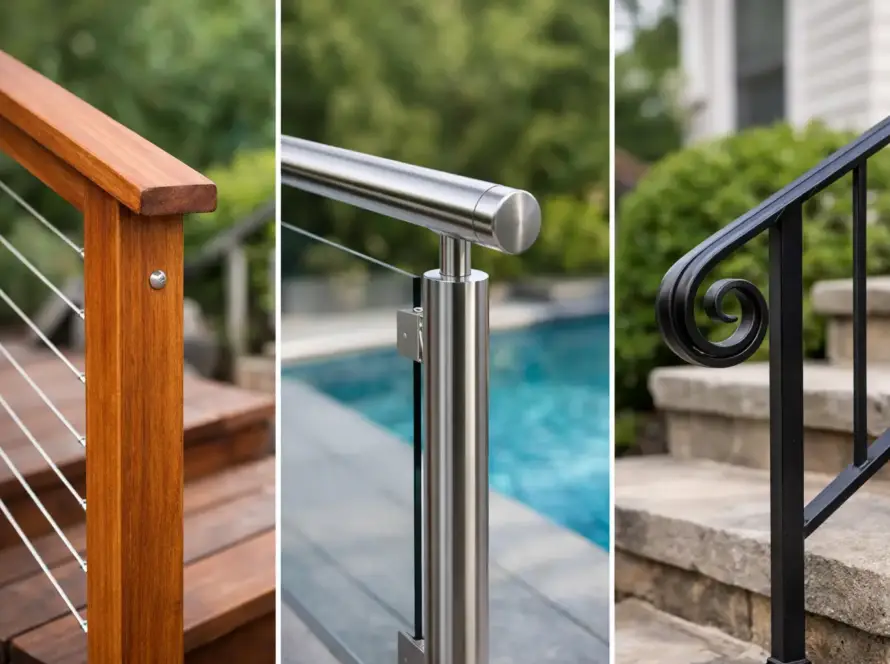
A well-installed iron fence should feel solid the first time you close the gate, lean against a section, or look down the property line. Learning how to install iron fence correctly is less about rushing panels into the ground and more about getting the layout, post depth, concrete, and alignment right before the finish work begins.
Iron fencing is a strong choice for homes, apartment properties, storefronts, and commercial sites because it adds security without making the property feel closed in. It can also improve curb appeal, define access points, and hold up well over time when the material is properly finished and maintained. The installation process is manageable for experienced DIY property owners, but it requires careful measuring and physical work. For a long run, a sloped lot, custom gates, or a security-focused installation, professional planning is usually the safer investment.
How to Install an Iron Fence: Start With a Clear Plan
Before ordering materials or digging a single hole, confirm exactly where the fence belongs. Review your property line, identify easements, and check any homeowner association rules that may affect fence height, style, or placement. A fence installed only a few inches over a boundary can create an expensive problem later.
Call the local utility-marking service before excavation. Underground electric, gas, water, irrigation, and communication lines are not always where a property owner expects them to be. Never assume an old fence line is safe to reuse without having the area marked.
Next, choose the fence style and layout. Many iron fence systems use prefabricated panels set between square or round steel posts. Others are custom fabricated for unusual dimensions, curved lines, decorative details, or specific security needs. Measure the full run, note every corner and gate opening, and decide where panels may need to be cut or stepped.
A level yard is the simplest situation. On a slope, the fence can either follow the grade or step down in level sections. Following the grade creates a cleaner line but may require custom fabrication. Stepping works well with standard panels, though it can leave larger gaps below the fence in some areas. That gap matters if pets, children, or security are part of the reason for installing the fence.
Gather Materials and Tools Before You Begin
The exact hardware depends on the fence system, but most iron fence installations require posts, panels, brackets, fasteners, post caps, gate hardware, concrete mix, gravel, and touch-up paint. If you are installing a gate, make sure its hinges, latch, and posts are rated for the gate’s weight. A heavy iron gate can pull a weak or poorly set post out of alignment over time.
You will also need basic layout and installation tools: a tape measure, stakes, mason’s line, string level or laser level, post-hole digger or auger, shovel, wheelbarrow or mixing tub, drill or impact driver, socket set, level, and safety gear. Eye protection, gloves, sturdy boots, and hearing protection are worthwhile, especially when cutting metal or using powered digging equipment.
Do not substitute random screws for the manufacturer’s hardware. Galvanized or coated fasteners help prevent corrosion, while properly sized brackets keep the panels from shifting under pressure. Small shortcuts at the hardware stage often show up later as rattling panels, rust stains, or loose connections.
Set the Corners and Stretch a Straight Line
Start with the corner posts, end posts, and gate posts. These are the anchors for the entire fence run, so they need the most attention. Mark their locations with stakes, then stretch mason’s line tightly between them. This line gives you a visual reference for where intermediate posts should sit.
Measure the width of each panel plus the required bracket spacing. Mark each post location along the string line before digging. It is much easier to adjust a stake than a concrete-set post.
Check the layout from more than one angle. On a long driveway or street-facing frontage, even a slight bend in the line can be obvious. For properties in Los Angeles with older walls, irregular lots, or existing hardscape, allow time to work around real site conditions rather than forcing the fence into a measurement that does not fit.
Dig Post Holes to Support the Fence Properly
Post depth depends on fence height, soil conditions, wind exposure, and local requirements. As a practical guideline, plan for a hole deep enough to support roughly one-third of the post length, with additional depth for taller or heavier fencing. A 6-foot iron fence often needs posts set around 24 to 30 inches deep, but the correct depth can vary by site.
Make holes wider than the post to provide room for concrete around all sides. A common approach is a hole about three times the post width. Add several inches of compacted gravel at the bottom to improve drainage and create a stable base.
Avoid setting posts in loose, wet, or poorly compacted soil without addressing the condition. In areas with sandy soil, fill material, or drainage issues, deeper holes and wider concrete footings may be needed. A fence is only as dependable as the ground supporting it.
Set Each Post Plumb With Concrete
Place the first post in its hole and position it against the string line. Use a level on two adjacent sides to make sure it is plumb. Brace the post temporarily with wood stakes so it cannot move while the concrete is added.
Mix and pour concrete according to the product instructions, filling the hole around the post. Stop periodically to check that the post remains plumb. Shape the top of the concrete so it slopes slightly away from the post. This helps move water away from the steel and reduces the chance of moisture collecting at the base.
Set the second anchor post next, then recheck the string line before installing intermediate posts. Work one post at a time, measuring carefully as you go. A post that is out of line by even a small amount can make panel brackets difficult to install and create uneven gaps all the way down the run.
Let the concrete cure before hanging heavy panels or gates. Quick-setting concrete may firm up quickly, but full strength takes longer. Follow the product’s curing guidance and avoid loading the posts too soon.
Install Panels Without Forcing the Fit
Once the posts are secure, attach the brackets at the height specified for your fence system. Use a level and a consistent measuring point from the ground or top of each post. On a stepped installation, each section should be level even though the full fence line moves downhill.
Set the panel into the brackets and install the fasteners without fully tightening them at first. Check that the panel is level, straight, and evenly spaced between posts. Then tighten the hardware firmly. Do not force a panel that is too wide into position. That pressure can twist posts, damage brackets, and make future repairs harder.
If a panel needs to be cut, measure twice and protect the exposed metal after cutting. Use a metal-compatible primer and touch-up coating on any bare areas. This step is especially important because exposed steel is where corrosion often starts.
Hang and Adjust the Gate Last
Gates deserve separate attention because they combine weight, movement, and security. Install the hinges on the gate post, hang the gate, and use shims or a helper to hold it at the proper clearance. Confirm that it swings freely without dragging, rubbing the ground, or binding against the latch post.
Install the latch only after the gate is level and the gaps are consistent. For a driveway gate, pedestrian gate, or commercial access point, consider how the gate will be used every day. The best-looking gate is not much help if it is difficult to open, does not self-close when needed, or leaves a weak point in the perimeter.
Finish the Installation and Inspect the Whole Run
Install post caps to keep rainwater and debris out of hollow posts. Walk the entire fence line and check every bracket, fastener, weld, cap, and panel. Look for sharp edges, uneven spacing, exposed cut metal, loose concrete, and gaps near the bottom of the fence.
Clean construction dust and metal shavings from the surface, then keep an eye on the fence during its first few weeks. Minor settling, especially around gates, can reveal an adjustment that is easier to handle early. Repaint scratches promptly and clear soil, mulch, or standing water away from the base of posts.
A straight, properly anchored iron fence does more than mark a boundary. It gives a property a finished appearance and a dependable layer of protection. If the layout involves slopes, masonry columns, custom panels, or a heavy gate, getting an on-site assessment before work begins can prevent the kind of mistakes that are costly to correct after concrete has cured.